Skill guide · Energy & Heat
Fire-Starting: Ignition, Fire Lays & Extinguishing
A fire is heat, cooking, light, morale, and the surest method for making water safe to drink. The skill isn't lighting one fire once; it's being able to get one going reliably, in bad conditions, with whatever you have on hand, and putting it out completely when you're done. This guide covers the whole arc: ignition (primary, backup, and true no-gear fallback), tinder, wet-weather and wind technique, choosing the right fire lay, and extinguishing it for real.
Download this guide as PDFCarry redundant ignition
A single point of failure for fire-starting is a real risk: a lighter runs out of fuel, matches get wet. Carry at least two independent methods, and know a true no-gear fallback exists even if you never plan to rely on it.
- Matches or a lighter as your primary method. Store matches in a waterproof container; a basic butane lighter is cheap, small, and reliable until it isn't.
- A ferro rod (ferrocerium rod) as your backup. Scraped with the back of a knife, it throws sparks over 3,000°F, hot enough to ignite proper tinder even when wet, and it doesn't run out the way fuel does. Get the technique right or it feels unreliable even though the rod itself is fine: plant the rod's tip right against your tinder, hold the striker (the spine of your knife) steady against the rod at roughly a 90-degree angle, and pull the rod back toward you in one firm motion, don't push the striker forward against a rod you're holding still. Pushing the striker tends to knock the tinder bundle over right when you need it undisturbed; pulling the rod keeps the striker, and the sparks, aimed exactly where you planted it.
This diagram is wider than the screen on smaller devices, drag or swipe sideways to see the rest of it.
Get the tinder right
More fires fail from bad tinder than from a weak spark. The combination that consistently works: a cotton ball worked through with petroleum jelly until it's fully saturated but still has some dry fibers pulled loose at the center for the spark to catch. It lights with a single spark, resists wind and light rain, and burns for 3 to 5 minutes, long enough to dry out and ignite small twigs even in damp conditions. Where to find it: cotton balls and petroleum jelly are both sold at any grocery or pharmacy; premade version are also sold at outdoor retailers as "fire starter cubes" or similar. Making your own costs pennies and stores indefinitely in a sandwich bag.
Watch it: MerkWares, "Ferrocerium Tinder Tricks: Cotton and Petroleum Jelly".
Backup ignition without a ferro rod: flint and steel
Flint and steel is a genuinely practical third method, not just a novelty: striking carbon steel against a hard, sharp-edged stone (or a purpose-made striker) throws a small shower of sparks, hot enough to catch char cloth, but not hot enough on its own to ignite raw tinder the way a ferro rod can. Char cloth is what actually closes that gap.
Making char cloth
- Cut 100% cotton fabric (an old t-shirt or bandana works) into pieces small enough to lie flat, not folded, inside a small metal tin.
- Punch one small hole in the tin's lid with a nail, then pack the cotton in and close it.
- Set the tin on coals or a fire. It will smoke steadily as the fabric chars in the low-oxygen space inside; once the smoke stops, flip it over. It smokes again briefly, then stops for good.
- Pull the tin off the heat and let it cool completely before opening. Finished char cloth is black, not ash, and feels semi-rigid rather than crumbly. Fabric that's still brown, or that crumbles to ash, needs another round.
A single spark from flint and steel (or a ferro rod, or even a magnifying lens) is enough to make a piece of char cloth glow and spread. Tuck the glowing cloth into the center of a tinder bundle, fold the bundle's sides in around it, and blow steadily until it flames. Char cloth stores indefinitely in a dry container and costs nothing to make in batches.
The true no-gear fallback: bow drill
A bow drill makes fire from friction alone, wood against wood, no metal, no fuel, nothing that can run out or get lost except itself. It's the method to know exists, not necessarily the one to reach for first: real accounts from experienced practitioners consistently describe it as far harder than it looks, and a first-timer with correct instruction should expect to spend 30 to 45 minutes on their first successful ember, not the few seconds a ferro rod takes.
| Part | What it does |
|---|---|
| Spindle | The vertical stick that spins, carved to a sharp pencil-point on top (less friction, less heat where you don't want it) and a rounded, hot-dog-shaped end on the bottom (more surface contact, more heat where you do) |
| Fireboard (hearth board) | The flat piece the spindle spins against; needs a shallow starter divot plus a pie-slice notch cut into it so hot wood dust has somewhere to collect and smolder |
| Bow | A curved stick strung with cordage (paracord, a shoelace, or natural fiber) that wraps once around the spindle; sawing the bow back and forth spins the spindle |
| Bearing block (handhold) | A piece of wood, bone, or stone held in your other hand, pressing down on the spindle's pointed top to keep it in place and add downward pressure |
This diagram is wider than the screen on smaller devices, drag or swipe sideways to see the rest of it.
Wood selection decides success more than technique does. Both the spindle and fireboard need to be the same soft, completely dry wood, cottonwood, willow, cedar, basswood, and poplar are all proven choices. The thumbnail test is real and useful: if a fingernail presses a dent into the wood easily, it's soft enough. Wood that's even slightly damp will smoke for a long time but never actually produce an ember, the single most common reason a beginner's attempt fails.
Correct form matters as much as wood choice: keep the spindle vertical, keep steady downward pressure through the bearing block, and stabilize the wrist holding that bearing block, a wobbling wrist is close to a guaranteed failure. Saw the bow at a steady pace until the notch fills with dark, smoking dust and a small ember forms at its tip. Let the ember build for a few seconds after you stop sawing, then tap the fireboard to drop the ember into a piece of bark or a leaf, and carry it, not the fireboard, to your tinder bundle.
Build the ember up before it goes in the tinder
Building the fire itself
The basic lay: teepee
- Build your tinder bundle first, before you strike anything: prepared cotton balls, dry grass, birch bark, or dryer lint all work.
- Stack kindling (pencil- to finger-thick dry twigs) around or over the tinder in a loose teepee shape that leaves airflow underneath.
- Ignite the tinder, not the kindling directly; let the flame climb into the kindling on its own.
- Add fuel wood gradually as the kindling catches, thumb-thick pieces first, then larger, always leaving gaps for air.
When you need coals, not just flame: log cabin
Stack two parallel base logs, then cross two more over them at a right angle, repeating in a square, criss-crossed frame with tinder and kindling inside. As it burns, the structure collapses inward on itself, building a deep, even bed of coals rather than just a tall flame, exactly what you actually want for cooking over rather than through fire. Coals raked out from the sides work for frying or baking beside the fire while the log cabin itself keeps burning.
When you need it to run itself: the upside-down (top-down) lay
Build this one backwards from instinct: largest, driest logs on the bottom, progressively smaller wood in layers above, finishing with kindling and a tinder bundle on top. Light the top. The fire burns downward through each layer instead of upward, and as each layer collapses it feeds the one below, giving hours of steady, low-maintenance heat with almost no tending, real value overnight or while you're doing something else. It needs genuinely dry wood throughout and a big, hot teepee on top to actually get going, but once established it's the lay that asks the least of you afterward.
This diagram is wider than the screen on smaller devices, drag or swipe sideways to see the rest of it.
The self-sustaining stove: Swedish fire torch
A Swedish fire torch (also called a Swedish torch, Swedish fire log, or Canadian candle) turns a single standing log into both a stove and a heat source: cut it right and light the top, and it burns from the inside out for hours with almost no tending, while its flat top doubles as a stable surface to set a pot directly over the flame. Oral tradition credits Swedish troops during the Thirty Years' War (1618 to 1648) with the design, a way to get real heat from a single log without foraging further for fuel; that origin story isn't independently documented, but the design and its genuinely self-sustaining burn are well attested in practice.
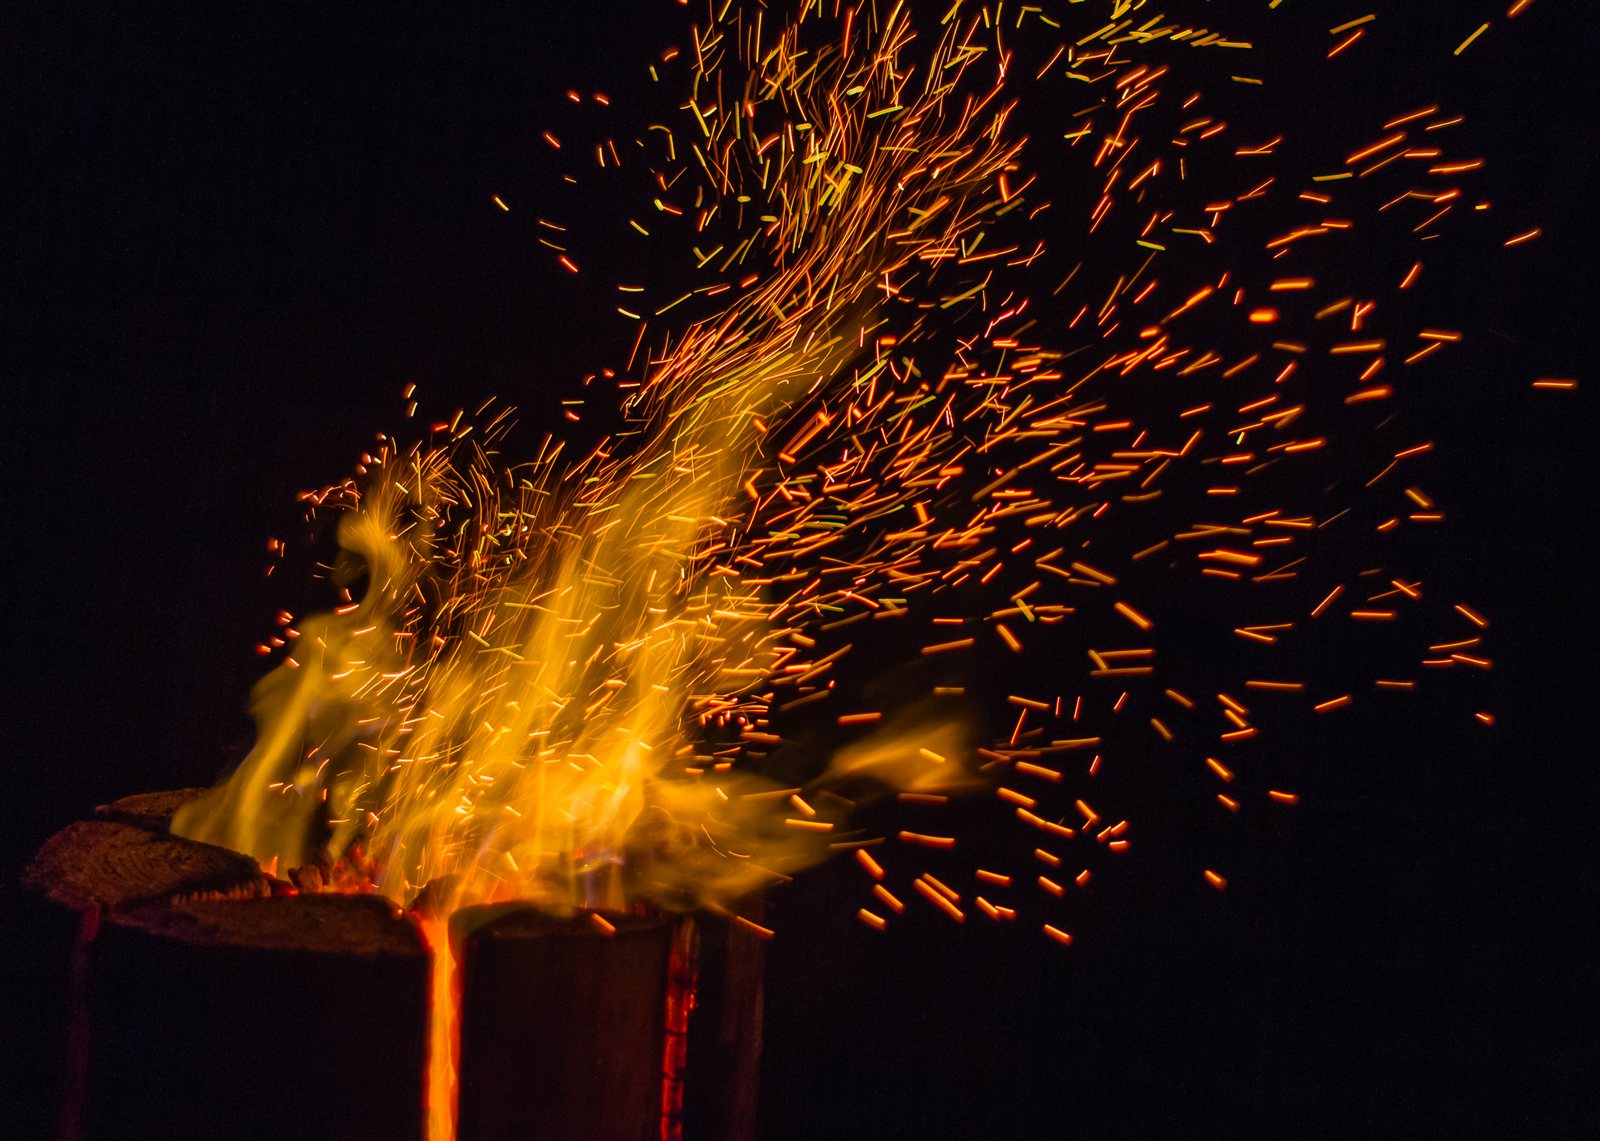
- Pick a log with a flat, level base and a level top. Both ends need to be even; a log that stands even slightly tilted is a real tipping hazard once it's burning, not just an inconvenience.
- A log roughly 8 to 12 inches across and 16 to 24 inches tall is a practical single-evening size. Larger logs burn longer, up to around 5 hours, but need a longer, steadier cut.
- With the log standing upright, cut straight down through the center, stopping roughly three-quarters of the way to the base, then rotate 90 degrees and make a second cut the same depth, perpendicular to the first. Seen from above, that's four equal pie-shaped wedges. The bottom few inches stay uncut on purpose; that uncut base is what holds the whole thing together as one stable piece instead of four loose logs.
- A wider log benefits from one or two additional cuts (six or eight wedges total) for better airflow, at the cost of needing an even steadier hand to keep every cut the same depth.
A chainsaw is genuinely the right tool for the classic single-piece cut once a log is more than a few inches across: getting a straight, even cut three-quarters of the way through a foot of standing wood by hand is real work, and practitioners report struggling to fully split even a 6-inch log with an axe alone, an uneven cut is exactly what causes the wedges to burn unevenly or the whole torch to lean. That dependency eases as the log gets smaller, though, and the hand-tool version isn't a scaled-down copy of the chainsaw cut, it's a genuinely different build: fully split a thinner log, roughly 4 to 6 inches across, into wedges with an axe or hatchet (or a knife and baton, the same technique this guide uses above to reach dry interior wood), then stand the wedges back up together and bind them tightly with wire or wet cordage, leaving a small gap between pieces for tinder and airflow instead of relying on an uncut base to hold the shape. It's worth knowing this alternative exists specifically because it's closer to how the design was likely first built: Swedish soldiers in the 1600s obviously didn't have chainsaws either.
Wood: dry, well-seasoned wood, the same rule as every other fire lay here, but it matters more for this one: a Swedish torch has to sustain its own combustion from a single mass of wood for hours, and wood that's still wet at the core won't get there no matter how it's cut. This is genuinely disputed in the sources: most practical how-to guides insist on fully seasoned wood, but at least one reference describes builders using slightly green wood on purpose for a slower, smokier burn. Dry wood is the safer default to build toward, and the one every hands-on source actually recommends.
Lighting it: pack tinder and fine kindling down into the cuts near the top center, not at the base, and light it there. The fire establishes in the crosscuts at the top and burns downward and inward, embers falling into the cuts as it goes, self-feeding without you adding fuel.
Warning
A tilted or unattended Swedish torch is a real tipping and collapse hazard
Wet weather and wind
Rain and wind don't make fire-starting impossible, they change which techniques actually work.
- Batoning splits a piece of dead, standing wood open with a knife and a second stick (the baton) used as a hammer, driving the blade through end-on. Even wood that's rained on for days is usually still dry at its core; batoning is how you get to that dry interior instead of trying to burn the wet outside.
- Feather sticks take that same knife and shave long, thin curls into a piece of wood, leaving them attached rather than cut free, dramatically increasing the surface area a spark or flame can actually catch on damp wood. A handful of feather sticks does the job an equivalent handful of plain kindling can't in wet conditions.
- Orient the fire against the wind, not just wherever's convenient: build with your back and the bulk of your fuel pile blocking the wind, and light the tinder on the downwind side so the flame draws into the fire rather than being blown sideways off it.
Check current fire restrictions before you practice
Putting it out, for real
An improperly extinguished fire is one of the most common causes of human-started wildfire, and "it looks out" is exactly the mistake that causes them: a bed of coals can hold enough heat to reignite hours later, especially if wind picks back up. The U.S. Forest Service's own standard method is worth memorizing exactly as written.
Warning
Drown. Stir. Feel. Repeat if it's not cold.
Write your own plan, in one sentence
A ferro rod that's never been practiced with feels unreliable in exactly the moment you need it most. Finish this sentence with your own real plan:
"The next time , I will actually ."
Saved, only in this browser, for you to come back to.
Sources
- Ferro rod spark temperature and cotton ball/petroleum jelly tinder performance: Survival Common Sense
- Correct ferro rod striking technique (pull the rod, hold the striker steady): Skillset Magazine
- Char cloth preparation method, tin/hole technique, and completion indicators: The Art of Manliness; char cloth ignition temperature and pyrolysis process: Wikipedia
- Bow drill parts, technique, wood selection, and realistic beginner timing: WillowHaven Outdoor; honest difficulty framing for a first attempt: Backpacker; common failure causes and wood thumbnail test: Paul Kirtley
- Batoning technique for accessing dry interior wood: More Than Just Surviving
- Feather stick technique for damp-wood ignition: Wikipedia; Paul Kirtley
- Log cabin fire lay, coal-bed formation, and cooking use: Bush Cooking
- Upside-down (top-down) fire lay, structure, and long-burn characteristics: Cabin Life
- Swedish fire torch construction, log sizing, cut depth, and burn time: Fresh Off The Grid; The Art of Manliness
- Swedish torch history, log dimensions, wood-moisture disagreement, and internal burn temperature: Wikipedia
- Swedish torch leveling, base stability, and tipping risk: Survival Sullivan
- Axe-split, wire-bound alternative to a chainsaw, and the historical-authenticity framing: RV LIFE; real difficulty splitting a small log with an axe alone: Bushcraft USA Forums
- Swedish fire torch burning photo: Friedrich Haag, CC BY-SA 4.0, via Wikimedia Commons
- U.S. Forest Service "drown, stir, feel" extinguishing method: Ready for Wildfire (Cal Fire); USDA Forest Service